I recently replaced the Koverall fabric covering for my tympan with paper, shrunken into place. The paper seems much better, tough, very taut and flat, like a drum head. In addition, tape holds to the paper better than it does to the fabric.
I used the Permalin paper recommended by Rummonds. You can get reasonably small quantities from Steve Pratt at Pratt Wagon Works; Cove Fort; Beaver, Utah 84713. Phone/Fax: (435) 438-1024.
Preston
Friday, February 24, 2012
Sunday, January 16, 2011
booklet
Marya and I invited some of our family over for a champagne tasting at the solstice. We printed a small booklet to hand out. A lot of work, but it turned out well, despite a number of mistakes.
The booklet's composed of 2 sections sewn together, wrapped in a translucent piece of gold-speckled paper. Here's the front cover, with the title showing through the translucent wrapper.


Here's the half title.

Here's the title page. Note this section is sewn here. Indeed, the whole booklet was designed around the spread. The words are printed in gold, the illustration is printed in brown, and the star is in gold leaf. In retrospect, I think it was a mistake to mix the gold ink and the gold leaf on the same page.

It was all printed from polymer plates, our first attempt. Worked out well. The text was set using InDesign, in Adobe's Garamond Premier.

The leaves are each 6x9 inches. We printed 10x13" sheets, 2 pages on each side, then folded and sewed the sections together, and finally trimmed them to size. It would be difficult to print anything much larger on our press.

The pages are layed out with classical margins and turned out pretty well, I think. We spent a lot of effort ensuring that the different sides backed out well and mostly got 'em right.


We had several pages dedicated to "tasting notes." We designed the booklet so that a single polymer plate could be used to print all the tasting notes.


The colophon is printed on the inside of the back cover.

The booklet's composed of 2 sections sewn together, wrapped in a translucent piece of gold-speckled paper. Here's the front cover, with the title showing through the translucent wrapper.

Here's the cover page with the wrapper peeled open.

Here's the half title.

Here's the title page. Note this section is sewn here. Indeed, the whole booklet was designed around the spread. The words are printed in gold, the illustration is printed in brown, and the star is in gold leaf. In retrospect, I think it was a mistake to mix the gold ink and the gold leaf on the same page.

It was all printed from polymer plates, our first attempt. Worked out well. The text was set using InDesign, in Adobe's Garamond Premier.

The leaves are each 6x9 inches. We printed 10x13" sheets, 2 pages on each side, then folded and sewed the sections together, and finally trimmed them to size. It would be difficult to print anything much larger on our press.

The pages are layed out with classical margins and turned out pretty well, I think. We spent a lot of effort ensuring that the different sides backed out well and mostly got 'em right.


We had several pages dedicated to "tasting notes." We designed the booklet so that a single polymer plate could be used to print all the tasting notes.


The colophon is printed on the inside of the back cover.

Saturday, October 30, 2010
Marya's engraving
Marya did a more complex engraving for her share of the calendar pages

She used three passes. The first was a light blue for the sky.

The second a medium blue for the water and the islands in the background.


I always enjoy seeing the prints beginning to cover the table.


She used three passes. The first was a light blue for the sky.
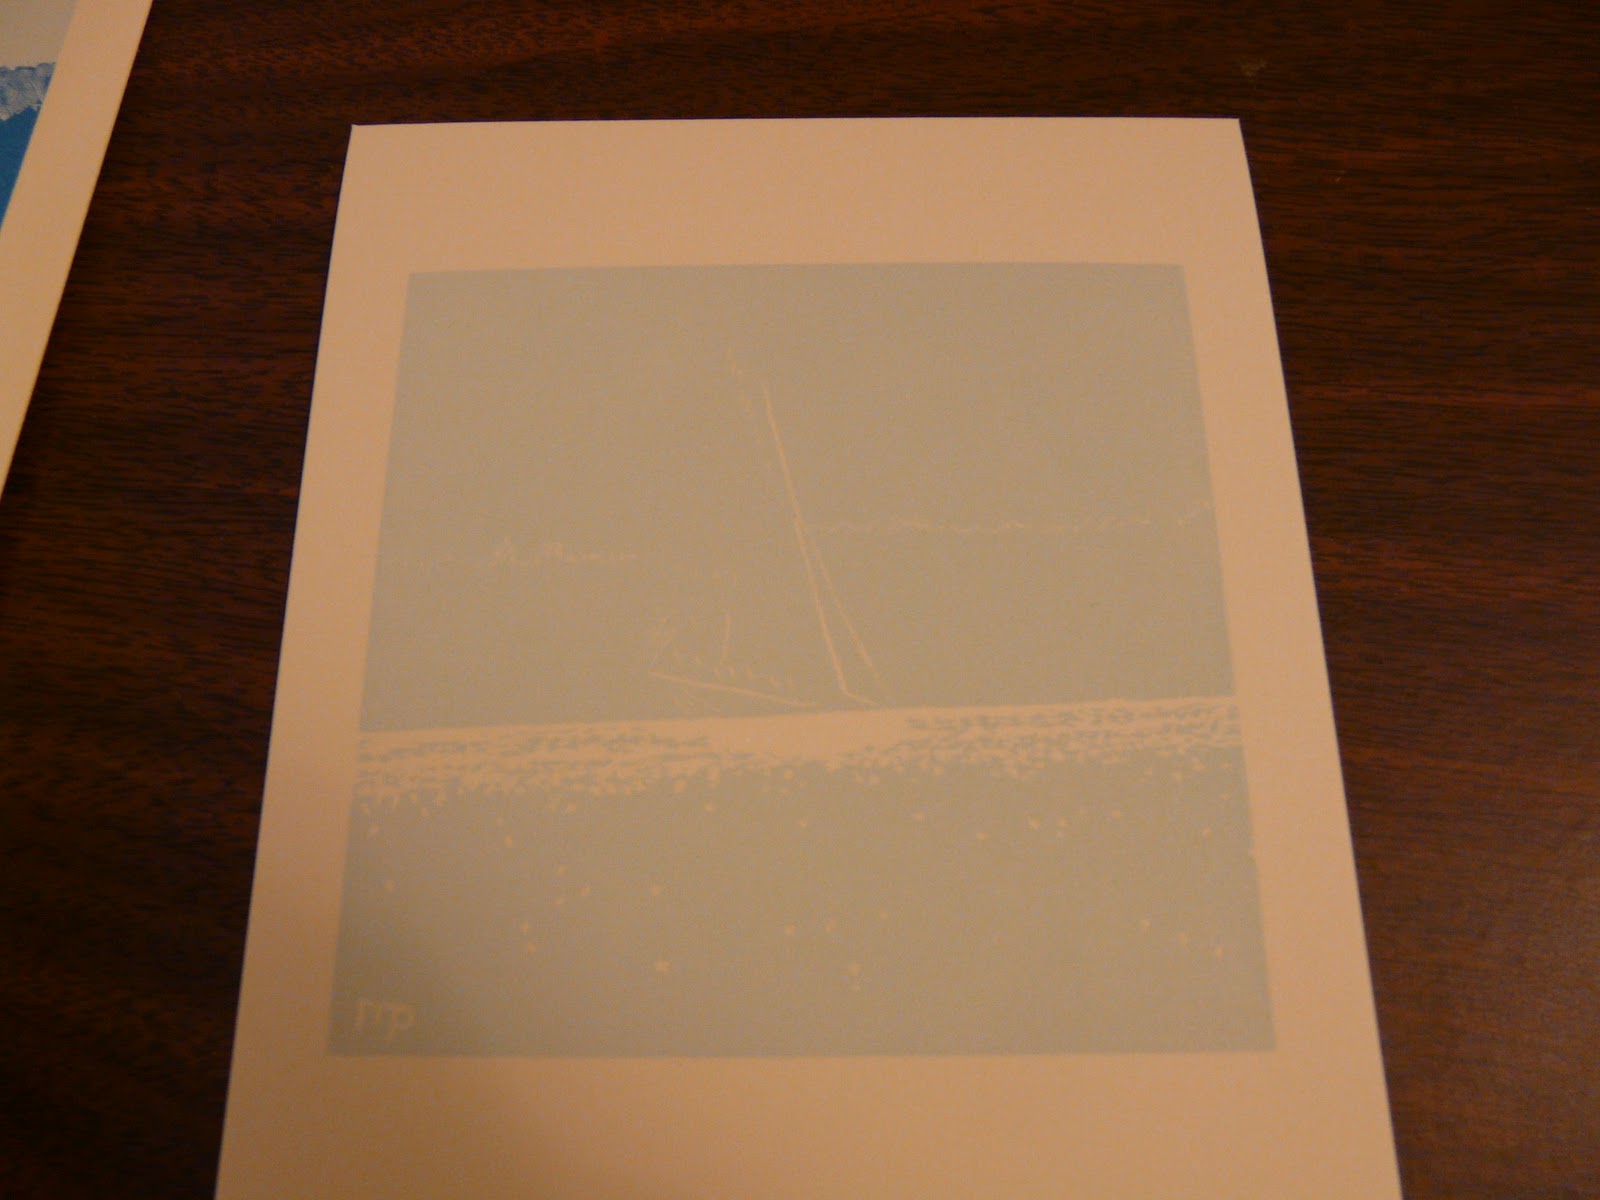
The second a medium blue for the water and the islands in the background.

The third pass was a dark blue for the boat, the water, and the calendar proper.

I always enjoy seeing the prints beginning to cover the table.

Wednesday, October 27, 2010
Printing an engraving
The Rain City Engravers are doing a group project this year, printing a calendar for 2011, with engravings done by various members. Marya and I are doing August. We each did an engraving; while hers requires several passes, mine was quite simple: a cockle shell. Here's the engraving (on a Resingrave block), locked up with the calendar (in magnesium), and inked.

Ready to print


Here's three of them. My share was 65, which took about 3 hours.

I can recommend a cockle shell as a great first engraving project; it was much easier than any the other engravings I'd tried before.

Ready to print

Done!

Here's three of them. My share was 65, which took about 3 hours.

I can recommend a cockle shell as a great first engraving project; it was much easier than any the other engravings I'd tried before.
Saturday, October 23, 2010
more Infinity Cards
I revisited my project to print infinity cards. I tried a couple of new patterns and got it all correct this time.


I printed them on dampened paper, which worked out pretty well. Certainly the results were much sharper than my previous attempt.


I printed them on dampened paper, which worked out pretty well. Certainly the results were much sharper than my previous attempt.

Monday, July 26, 2010
1st book
I took a class this weekend, A Book in a Box, taught by Bonnie Thompson Norman at Windowpane Press here in Seattle. It was great. We spent the first day sewing and binding a blank book and the second day building a clamshell box for it. Here's the result:

The exterior is relatively plain. My thought was that it might heighten the impression when the box is opened.


The pictures don't really do justice to the paper. Bonnie provided a selection of paste papers she had made earlier, all quite delightful.
I wish I had taken my camera to the class; the other student's boxes were wonderful.
Tuesday, April 6, 2010
Ink Bearers

I'm not altogether happy with this setup but it got me through the job. I followed the instructions over on the Poco website for using a brass bar snugged into a slot on one side of my boxcar base. Unfortunately, the roller I have, which cost quite a lot, wouldn't span all the way to the other side of the base so I used double stick tape and combined two leading strips and just laid them on the boxcar base alongside of the polymer plate. I had trouble with the strip sticking to the tacky roller and lifting up so I devised a little masking tape sleeve into which the end of the strip would slip which reduced but didn't completely eliminate the problem. I stuck a shorter piece of masking tape face to face with a longer piece so I had a non sticky tunnel with sticky ends to tape it in place

My first inking strip was shorter and hard to handle since the whole thing would get inky. I made a second longer strip that hangs off the end of the base resulting in a clean "handle" for removing the strip before running the press. By the end of the printing session, the leading had a slight bend at the point where the boxcar base ends so that may become a problem. I'm thinking of trying to cast a wide roller myself.

Here's my apprentice (aka husband) taking the print out of the registration guides. If you look closely you might see the clear mylar "frisket" drooping below his left hand.
I saw a recipe for composition roller material in a post on Briar Press and tried it out. I made a lovely flat plate (for monoprinting), so now, once I get over the memory of the smell, I hope to try to make a roller. Just haven't figured out how to do the handle. One idea was to use an old ball bearing wooden roller and cast around that. (Lynn Starun)
Wednesday, March 31, 2010
Determined to get the Most from my Poco!

Hi Group,
I've had my Poco about two years. It took a while to sort out some missing bits (the stops) and get it working smoothly. Boy, it sure does love some lubrication on those gears. I wonder what product everyone likes best for that? My husband thinks I should switch from generic grease to his teflon bicycle chain lubricant.
I got a metal plate the thickness of a galley and the full size of the bed so it's now type high. I'm using Yupo as my tympan--it's durable and wipes clean. So far I've printed some book arts kinds of things with metal type and linoleum blocks and that worked pretty well but I realized registration was a big issue. A friend has a proof press and thinks I should just register on the cylinder but my experiments didn't seem to work. Since it prints from both directions I couldn't just rig up a registration device like a Vandercook would have.
I liked Neil Giroux's idea but didn't have the metal working skills to make that and didn't like the business of hanging it from the ceiling. I'm in a warehouse with a VERY high ceiling and I'm 4'11". After some thought, and looking at any other tympan/friskets I could find, I decided it would be good to have it open across the bed. Hinges need to be small and I thought of those piano hinges I saw at Home Depot. I do some bookmaking and have lots of binder board so I attached a piece to the piano hinge which can then be locked up in with the furniture. One minor drawback is that the piano hinge is a little too short but I can hold it at the right height for the hinge and if I tighten the quoins it will stay at the right height. There are two sizes of piano hinge and I used the narrower one. I make the holes with a Japanese hole punch.
The first prototype was without a frisket. I just cut a hole in the binder board where the type or image was and made registration stops on top of the binder board. I'm printing a wedding invitation right now using a boxcar base and polymer and realized the binder board alone wouldn't be a good idea. So I used some heavy mylar as an underlayer and added it to the hinge instead of making another hinge. It worked but it was a little awkward to use-kind of like opening a two page book. I cut out the print areas from the mylar and put register stops on the binder board.
I'm wondering if I can find a better material than the binder board because it's a little too thick. I like the piano hinge because it is very reliable in that is doesn't shift or wiggle. I use very short flat bolts/nuts. They are sold in the hardware store with a sort of matching sleeve and are what you might use on a photo album and I think it was called a "post". It has a very low profile head and I replaced the sleeve part with the thinnest nut I could find.
One thought I've had would be to use a some kind of sheet metal for the tympan frame/frisket frame with the center cut out so that it would not need corner hardware. I actually wondered if a hinge of duct tape would work. I really like those carbon fiber hinges I saw on the blog. Will the epoxy be strong enough to hold the frame together?
I should mention that my poco was sandblasted by the previous owner and used as a display piece.
Well, that quite enough for one post. I posted on Briar Press (Poco stops and other issues) and if you scroll down there are some more photos.
(Lynn Starun)
Thursday, March 18, 2010
Wood type
Yesterday, the neighbor's grandson came visiting. Marya locked up some of our new wooden type and tried it out.


It worked fine.
Saturday, March 13, 2010
Infinity Cards
Inspired by this blog posting and a font of Bradley Combination Ornaments, I printed some Infinity Cards.
I printed them on two sides and tried to get good registration. Here's the lockup for the first side.

To achieve registration, I followed ideas from Rummonds and hung the paper on points (basically thumbtacks poked through the tympan). To get the points in the right place, we begin by including a pair these specially machined point guides in the initial lockup. They are 36 points in diameter, made from stainless steel. After the lockup is prepared, we press the tympan down, so that the points guides pierce the tympan slightly, marking the location for the points. Then the point guides are removed and the holes where they were are filled with a 36-point brass, tilted over. This scheme makes a space so the points aren't smashed into furniture or spacing material when the bed is cranked through.


Here's the form inked up. See any mistakes? I didn't. The broad red stripes on either side are the roller bearers. I remove them before printing.

Here're several finished.

A closer shot.

Here's the flip side.

And here are a couple of details.


For a third pass, I locked up a pair of scoring rules to crease the paper where I'll want to fold it.

Note the crease impressed vertically. Towards the bottom left, you can see one of the points.

Here I've trimmed off the edges that had the holes for the points and chopped each piece into four strips. These fours stacks are (mis)organized for glueing.

Here's the result.


Subscribe to:
Posts (Atom)

